

使用 Go 语言搭建简易登录功能
在这篇文章之前,已经学完了 Go 语言所有基础特性,对 Go 语言也有了一定掌握和理解。本文就来学习如何使用 Go 语言如何搭建一个 web 服务。这个 web 服务主要提供登录的功能。
1. 搭建服务
在 Go 语言中想要搭建一个 http 服务是非常容易的一件事情,一行代码就可以了。
代码示例:
- 1
package main - 2
- 3
import ( - 4
"net/http" - 5
) - 6
- 7
func main() { - 8
http.ListenAndServe("127.0.0.1:9300", nil) //设置监听的端口 - 9
}
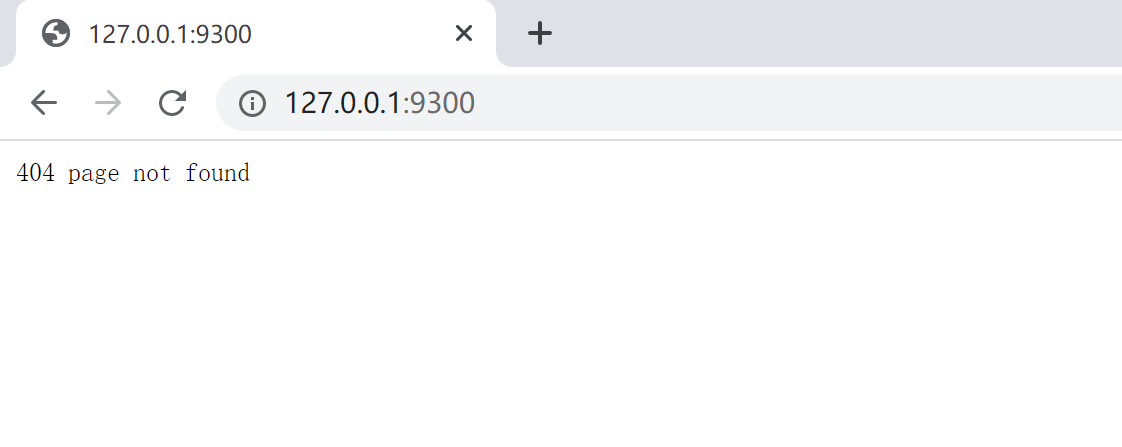
运行以上代码可以得到一个服务,在浏览器上输入http://127.0.0.1:9300/,由于没有编写任何路由,所以只会出现 404 的提示:

2. 编写路由
服务已经可以运行了,接下来就是要编写能被外部访问的路由接口,http 请求分为两种,POST 请求和 GET 请求。我们首先想实现的是一个网站登录页面打开的路由 /index,需要编写一个能响应 GET 请求的路由。
代码示例:
- 1
package main - 2
- 3
import ( - 4
"net/http" - 5
) - 6
- 7
func main() { - 8
//设置访问的路由 - 9
http.HandleFunc("/index", func(w http.ResponseWriter, r *http.Request) { - 10
if r.Method == "GET" { - 11
w.Write([]byte("<h1>Hello Codey!<h1>")) - 12
} - 13
}) - 14
http.ListenAndServe("127.0.0.1:9300", nil) //设置监听的端口 - 15
}
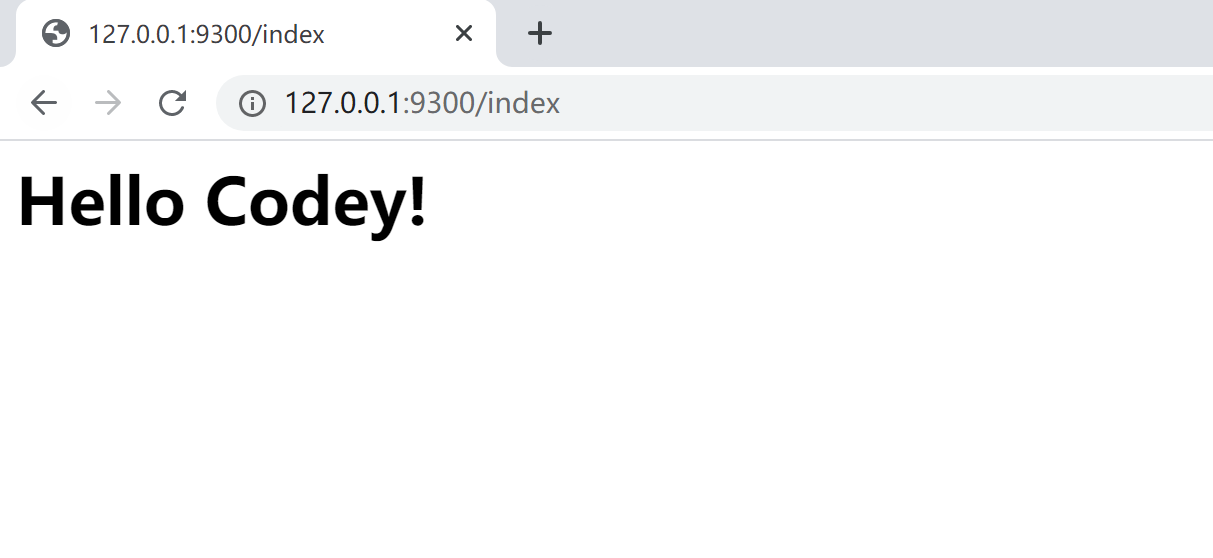
在浏览器中输入127.0.0.1:9300/index:
此处可以结合函数式编程的思想,将 index 的处理函数拿出来作为一个变量,代码修改后如下所示
- 1
package main - 2
- 3
import ( - 4
"net/http" - 5
) - 6
- 7
func main() { - 8
http.HandleFunc("/index", index) //设置访问的路由 - 9
http.ListenAndServe("127.0.0.1:9300", nil) //设置监听的端口 - 10
} - 11
- 12
func index(w http.ResponseWriter, r *http.Request) { - 13
if r.Method == "GET" { - 14
w.Write([]byte("<h1>Hello Codey!<h1>")) - 15
} - 16
}
然后修改一下输出字符串,使其输出一个页面,代码修改后如下
- 1
package main - 2
- 3
import ( - 4
"net/http" - 5
) - 6
- 7
func main() { - 8
http.HandleFunc("/index", index) //设置访问的路由 - 9
http.ListenAndServe("127.0.0.1:9300", nil) //设置监听的端口 - 10
} - 11
- 12
func index(w http.ResponseWriter, r *http.Request) { - 13
if r.Method == "GET" { - 14
w.Write([]byte(`<!DOCTYPE html> - 15
<html> - 16
<head> - 17
<meta charset="utf-8"> - 18
<title>Go语言实战1</title> - 19
</head> - 20
<body> - 21
<div> - 22
<h3>登录</h3> - 23
<form> - 24
<div> - 25
<div> - 26
<input type="text" id="username" name="username" placeholder="请输入账号"> - 27
</div> - 28
</div> - 29
<div> - 30
<div> - 31
<input type="password" class="form-control" id="password" name="password" placeholder="请输入密码"> - 32
</div> - 33
</div> - 34
<div > - 35
<div > - 36
<button id="loginbtn" type="button" >登录</button> - 37
</div> - 38
</div> - 39
</form> - 40
</div> - 41
</body> - 42
</html>`)) - 43
} - 44
}
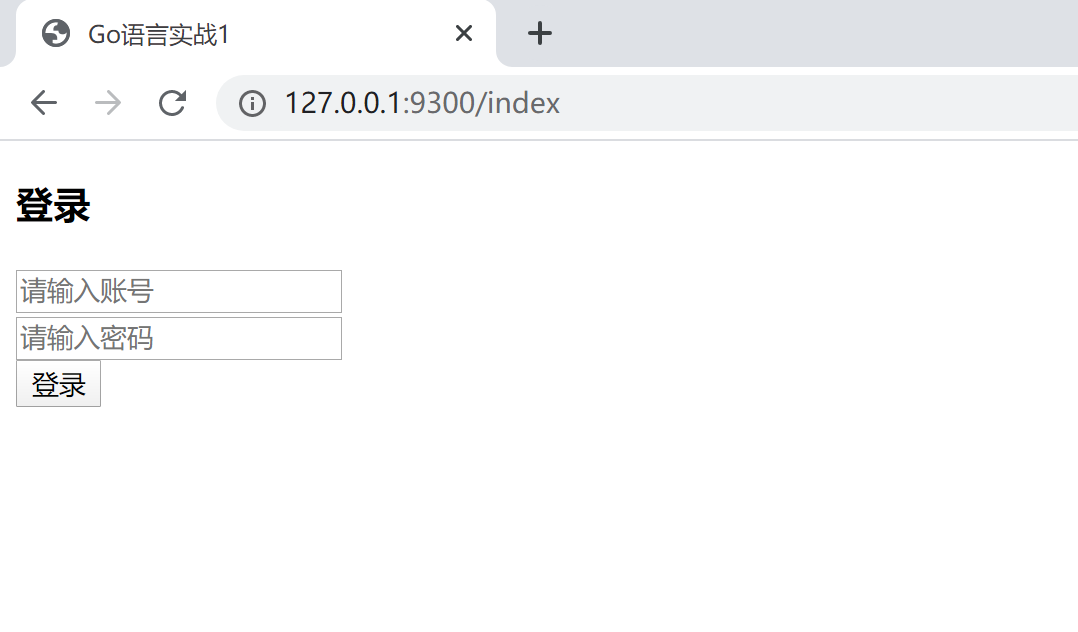
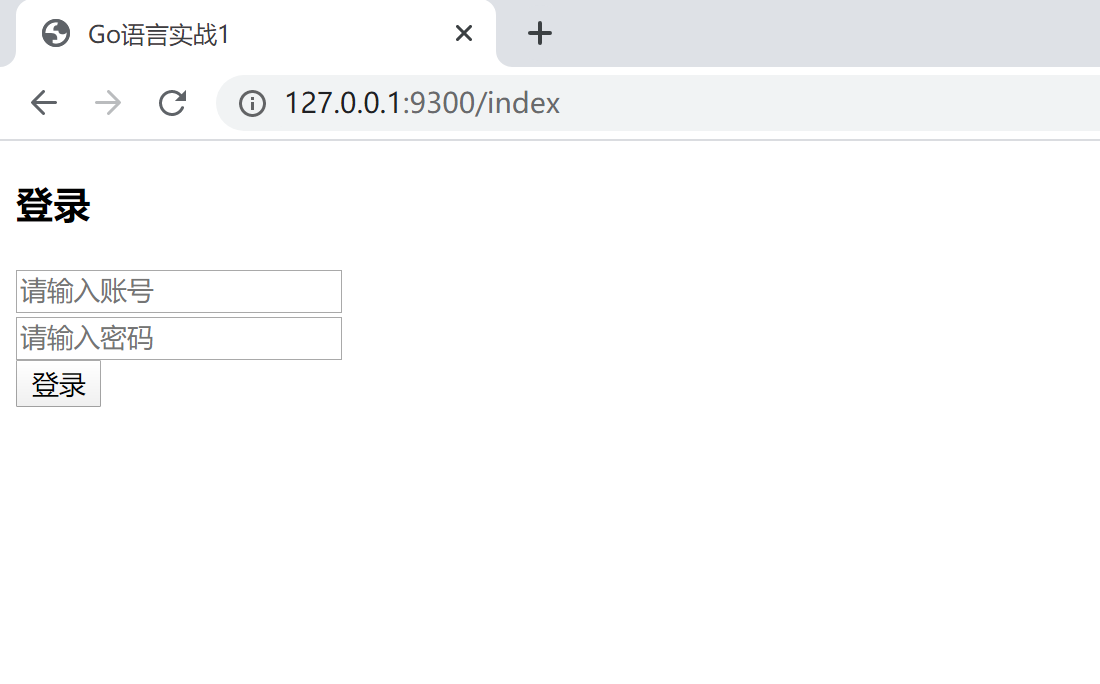
运行上述代码,然后再次在浏览器中输入127.0.0.1:9300/index。
3. 配置页面到 html
一般写 web 应用,会涉及到很多 html 文件,我们不可能将其全部都放在 Go 文件的字符串里,不方便调试的同时也影响代码维护。所以我们一般会直接加载 html 文件。
代码示例:
- 1
package main - 2
- 3
import ( - 4
"net/http" - 5
"text/template" - 6
)
- 7
- 8
func main() { - 9
http.HandleFunc("/index", index) //设置访问的路由 - 10
http.ListenAndServe("127.0.0.1:9300", nil) //设置监听的端口 - 11
} - 12
- 13
func index(w http.ResponseWriter, r *http.Request) { - 14
if r.Method == "GET" { - 15
t, _ := template.ParseFiles("view/index.html")//加载html文件 - 16
t.Execute(w, nil)//将文件输出到浏览器 - 17
} - 18
}
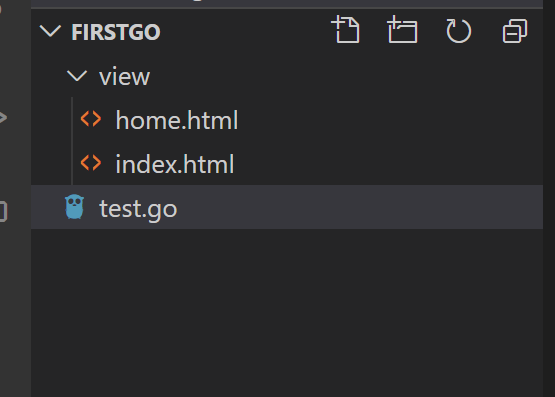
目录结构如下
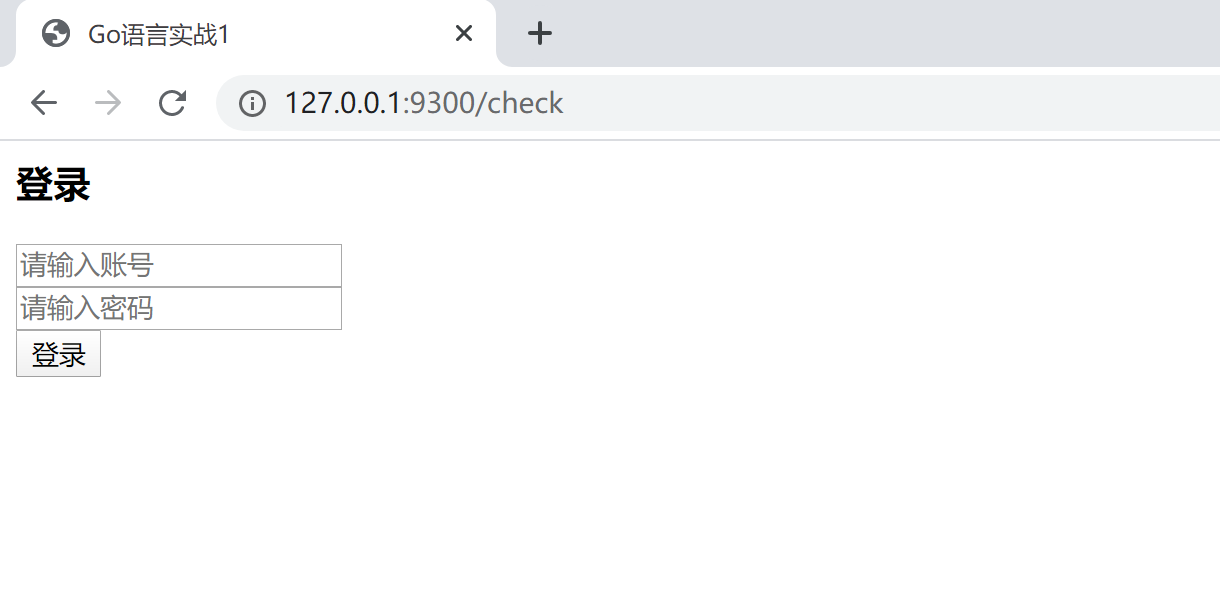
index.html 的代码如下:
- 1
<!DOCTYPE html> - 2
<html> - 3
- 4
<head> - 5
<meta charset="utf-8"> - 6
<title>Go语言实战1</title> - 7
</head> - 8
<body> - 9
<div> - 10
<h3>登录</h3> - 11
<form> - 12
<div> - 13
<div> - 14
<input type="text" id="username" name="username" placeholder="请输入账号"> - 15
</div> - 16
</div> - 17
<div> - 18
<div> - 19
<input type="password" id="password" name="password" placeholder="请输入密码"> - 20
</div> - 21
</div> - 22
<div > - 23
<div > - 24
<button id="loginbtn" type="button" >登录</button> - 25
</div> - 26
</div> - 27
</form> - 28
</div> - 29
</body> - 30
</html>
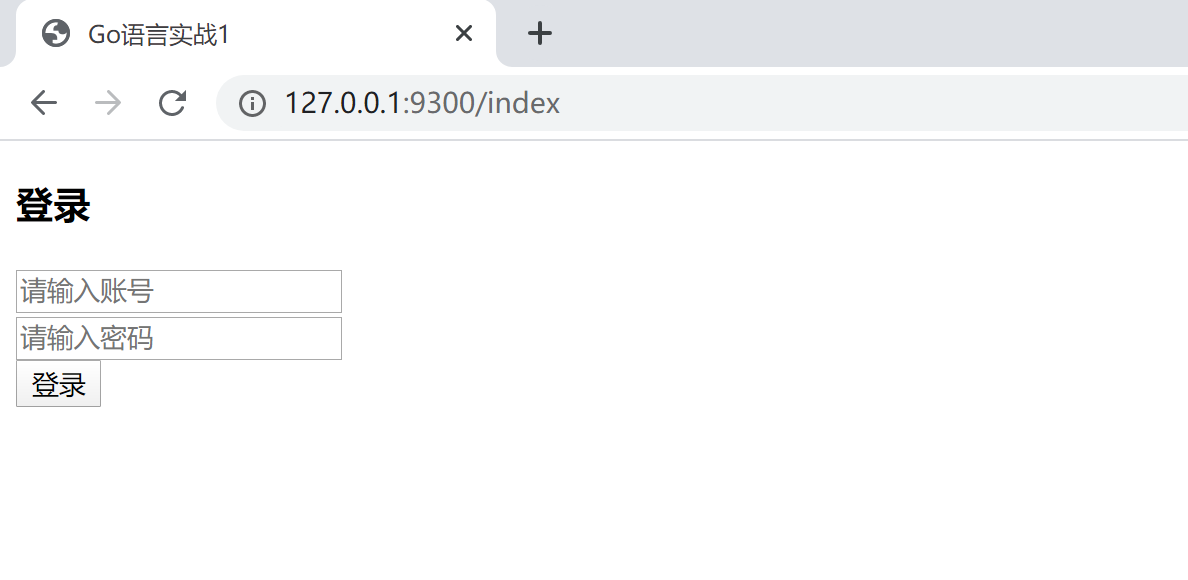
执行上述 Go 语言代码,在浏览器中输入127.0.0.1:9300/index。
4. 数据传输
在 html 页面点击登录暂时没有任何反应,为了提交页面到服务端,我们需要在服务端再编写一个接收数据的路由,这个路由需要能够接收 POST 请求。然后再这个路由中需要能验证账号密码是否正确,若是则跳转到主页,若不是则给出提示后跳转到登录页。
代码示例
- 1
package main - 2
- 3
import ( - 4
"net/http" - 5
"text/template" - 6
) - 7
- 8
func main() { - 9
http.HandleFunc("/index", index) //设置访问的路由 - 10
- 11
http.HandleFunc("/check", check) - 12
http.ListenAndServe("127.0.0.1:9300", nil) //设置监听的端口 - 13
} - 14
- 15
func check(w http.ResponseWriter, r *http.Request) { - 16
if r.Method == "POST" { - 17
accountID := r.FormValue("username")//获取账号 - 18
password := r.FormValue("password")//获取密码 - 19
if accountID == "Codey" && password == "12345" { - 20
//跳转到主页 - 21
t, _ := template.ParseFiles("view/home.html") - 22
t.Execute(w, nil) - 23
} else { - 24
//跳转到登录 - 25
w.Write([]byte("<script>alert('账号或者密码不正确')</script>")) - 26
t, _ := template.ParseFiles("view/index.html") - 27
t.Execute(w, nil) - 28
} - 29
- 30
} - 31
} - 32
- 33
func index(w http.ResponseWriter, r *http.Request) { - 34
if r.Method == "GET" { - 35
t, _ := template.ParseFiles("view/index.html") - 36
t.Execute(w, nil) - 37
} - 38
}
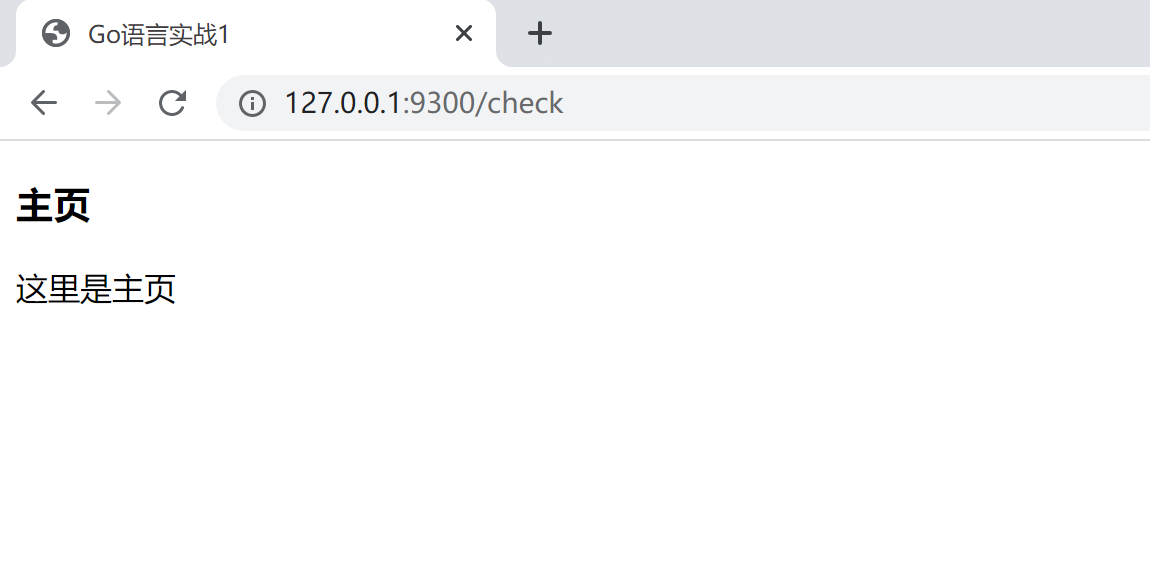
home.html 的代码如下:
- 1
<!DOCTYPE html> - 2
<html> - 3
- 4
<head> - 5
<meta charset="utf-8"> - 6
<title>Go语言实战1</title> - 7
</head> - 8
<body> - 9
<div> - 10
<h3>主页</h3> - 11
这里是主页 - 12
</div> - 13
</body> - 14
</html>
执行上述 Go 语言代码,在浏览器中输入127.0.0.1:9300/index。
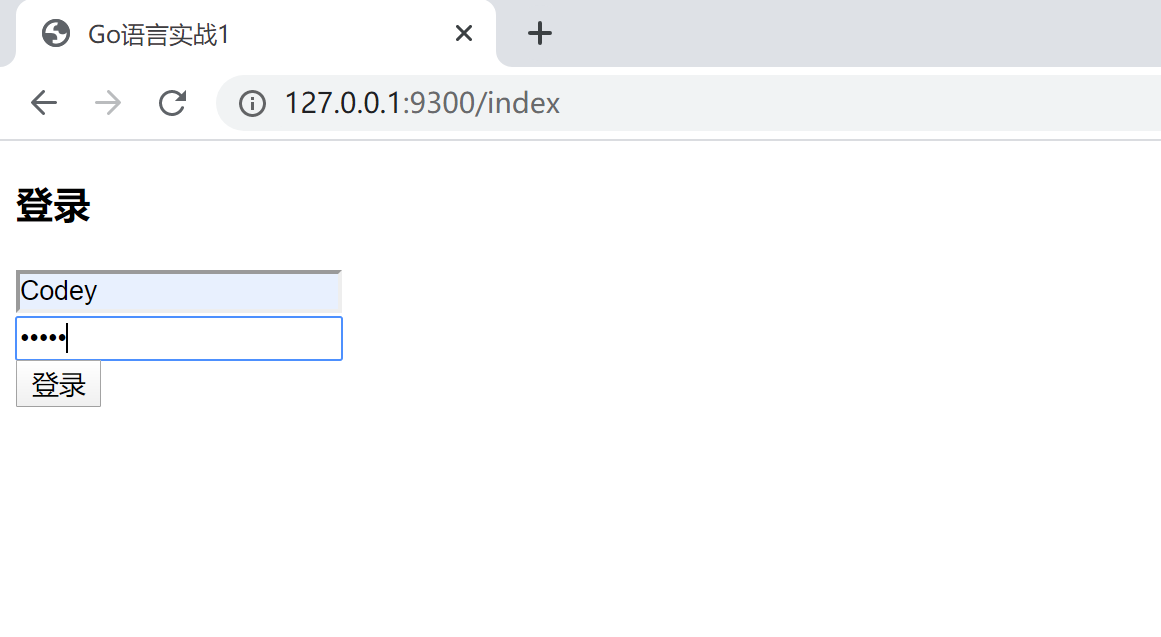
输入正确的账号:Codey,密码:12345
然后点击登录,会跳转到主页
若输入错误的账号密码,则不跳转
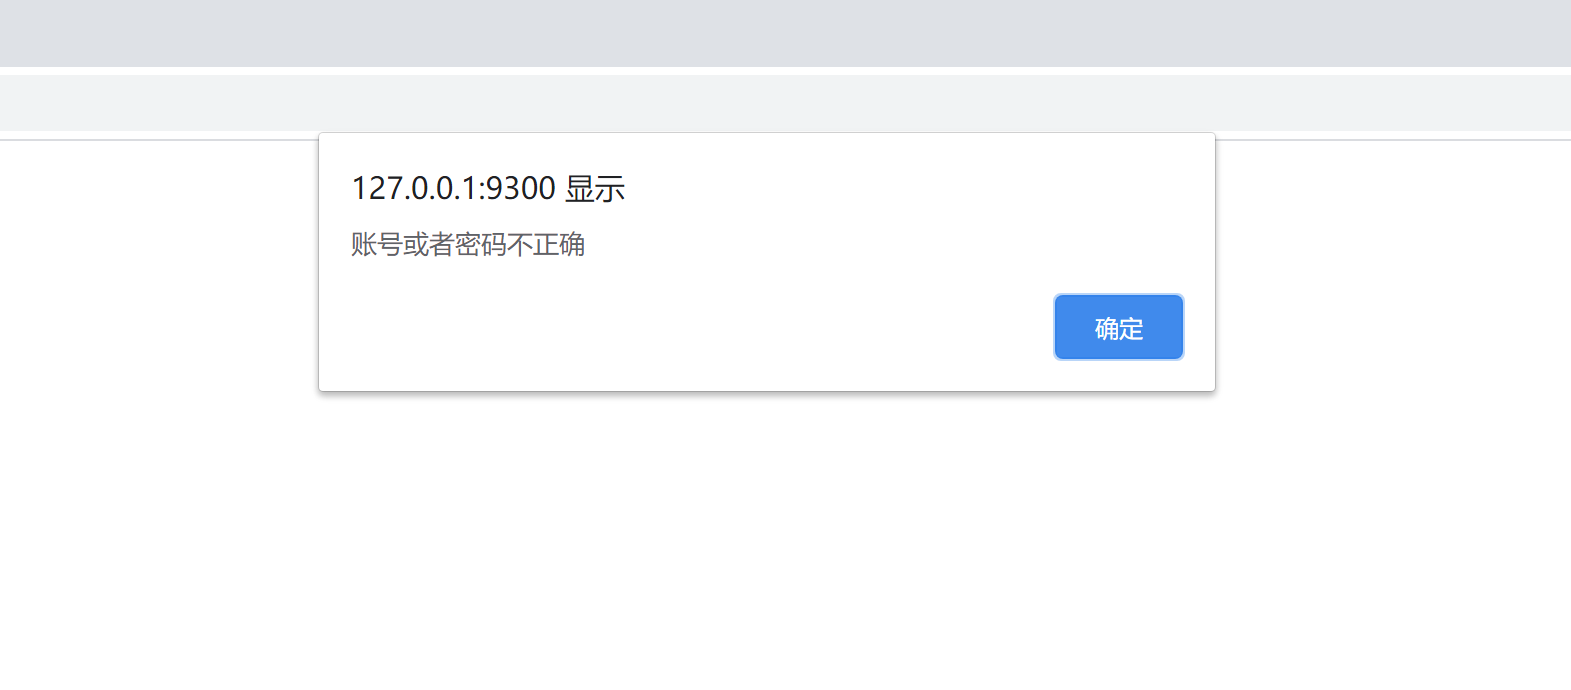
随后跳转回登录页面
一个简易的登录功能就搭建完成了。
5. 小结
本文主要介绍了 Go 语言官方提供的 http 服务,以及如何使用这个包来搭建一个 web 应用。其中需要注意区分前端发送过来的请求类型,POST 和 GET 两个请求各自有各自的处理。
文章来源于网络,侵删!